Tuesday, May 31, 2011

Giveaway extended…

Because blogger was being a bit wacky all weekend long, I decided to extend the giveaway one more day!  Head on over and enter for your chance to win!  All entries must be in by 9pm (central time) tomorrow night! 

http://brittanyandmattcoleman.blogspot.com/2011/05/quick-review-giveaway.html


Pin It!

Friday, May 27, 2011

Summer Mantle Linky Party

I don’t have a whole lot to share, but I did want to quick link up to the summer Mantle party at The Lettered Cottage because it’s one of my favorite places to get design inspiration! 
 
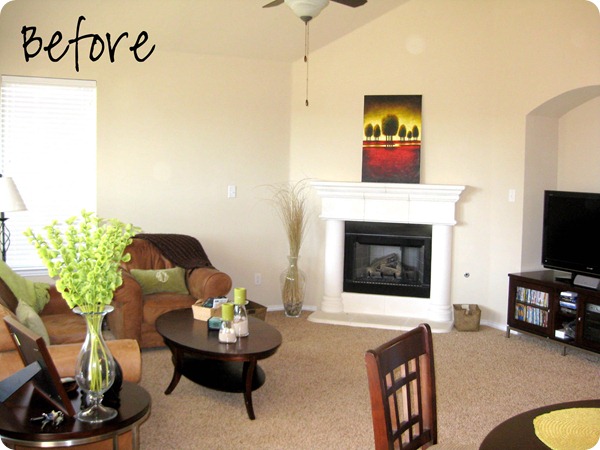
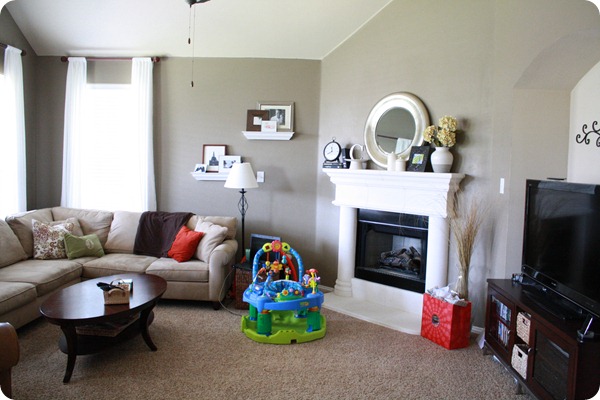
Hadley is probably about to wake up from her nap, so I’ll make this quick!  Our family room mantle went from this (when we first moved in):
IMG_1072 copy
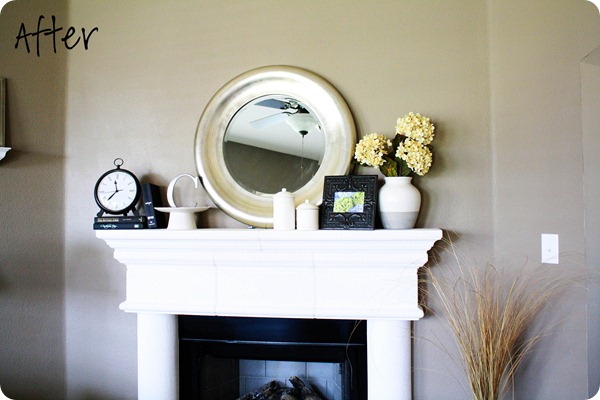
to this:
IMG_1923 copy copy
 
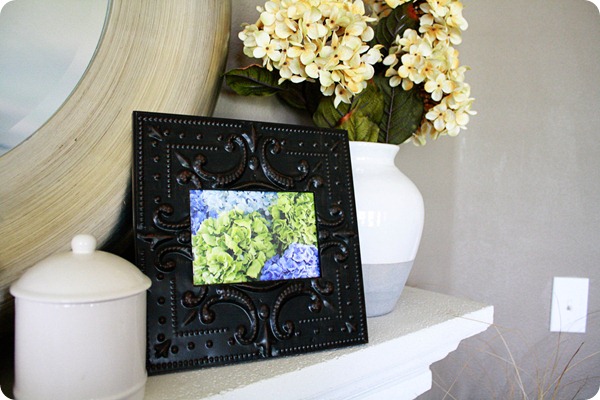
I love this frame that one of my good friends got me for my birthday this year.  I had a family picture picked out to go in it, then decided I would keep the hydrangea picture in there for now. 
IMG_1926 copy
Ok, I know it’s not as fun when it’s not the exact same angle, but we don’t have a playroom in this house, so if I zoom out, this is what you get… (and this is good compared to what it usually looks like.)  At any given moment there are typically about 10 more toys strewn about, the playmat (which you can see the handle of behind the laptop) is usually out on the floor as well and there’s usually 2-3 burp cloths stuffed in the couch cushions.  See?  This is why I showed you the zoomed in version.  The mantle sort of gets lost in the clutter. 
IMG_1927
And right on cue, Hadley has woken up yet again from her nap.  Teething is rough… thanks for stopping by!  Oh, and don’t forget to check out the giveaway I’ve got going on!  (As it stands, you’ve got pretty good odds to win something!)
 
The Lettered Cottage

Oh one last thing… I always get asked about the paint color in our family room.  It’s a custom color from Lowe’s that took about 8 trips back and forth to get it right.  Here’s the code for it!

paintcode copy


Pin It!

Tuesday, May 24, 2011

Quick Review & Giveaway!

So I’ve been talking about this for awhile now; I figured I’d better get my act together and get it up! I've never done a giveaway before, but I'm excited to share this one with y'all!

I discovered Amanda from Oh Sew Cute Designs when I was just searching through Etsy vendors one day.  I really wanted some car seat strap covers, but I was having a tough time finding designs that I liked (I might be a little bit picky and extremely indecisive). 
I liked her shop, so I contacted her and within the hour I had a response back about making some custom ones for me! 
{sidenote: I know a lot of people out there are weary of adding anything to a car seat for safety reasons.  I’m the same way, but since our car seat came with strap covers, I just didn’t like them, I really wasn’t too worried about that.  They don’t change the way anything sits or buckles, and they are so much softer and easier to clean!}
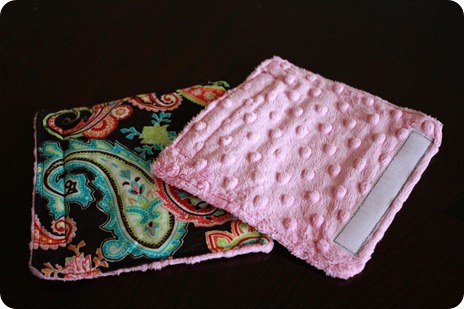
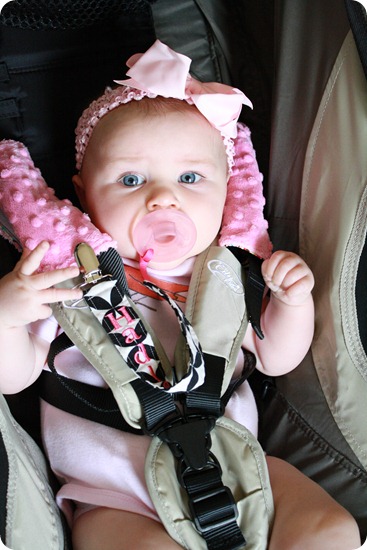
Here are a couple pictures of the ones she made for me…  (excuse the poor quality of the pictures, these were taken with my phone.) 4.18.11newstroller

These are the same set – they are reversible, which I LOVE! 
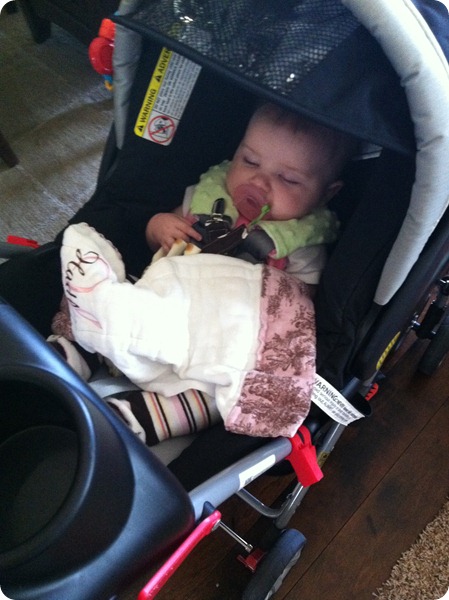
IMG_0669
Here’s a quick picture of the other set I got.  I actually use these about the same amount as the others, but for whatever reason didn’t have any pictures so I took a quick one before our walk today.  I especially love these in her “big girl stroller” because the adjustment thingamajigs and clips to attach to the back are right up by her ears and this keeps the straps nice and soft for her sweet little face!
IMG_1922 
IMG_1913
(They had just come out of the wash, and the pink side wasn’t quite dry.)
Which brings me to my next point, I love love love that I can just take these off and pop them in the wash.  Hadley spits up a lot, and now that we are teething she is like a water faucet that is constantly leaking.  I can’t imagine how gross our car seat straps and stroller straps would be without these!  LOVE.
In addition to these, Amanda has a ton of other cute things in her shop
With Hadley about to start solids, a couple of these are next on my list…
image
They have laminated cotton on the inside so you can just wipe them clean!  These would be great to re-use for a bigger kids lunch box, too! 
And I love these appliqued turkey shirts that she makes.  The only reason I haven’t bought one yet is because I can’t decide what size to get!  Hadley is in 9 month sleepers already and she’s not even 5 months old.  That makes it tough to predict future sizes!  She does all kinds of other applique shirts, too.
imageimage
She also makes cute little keychain fobs :

image
Sippy straps…
image
And burp cloths!  These would make a perfect gift for a shower!
imageAND, she is great to work with.  So, have I sold you on her shop, yet? 
{sidenote: I’m not being compensated in any way to promote this stuff, I just really liked her shop, and thought it would be fun to offer something to one of my readers!}
Here’s where the giveaway comes in.  Amanda has graciously offered to let one winner choose one item in her shop for free!  All you have to do is enter! 
Here’s how to enter:
1. Follow my blog and leave a comment letting me know that you are a follower.
2. Check out her shop and “Like” Oh Sew Cute Designs on facebook and leave a separate comment here letting me know you did and what you would choose if you won!
And that’s it!  Since we’ve got a holiday weekend coming up, I’ll leave the giveaway open for ONE WEEK, so you have until May 31st to enter! 
**Make sure you leave an email address when you comment so that I have a way to contact you if you win!**
Linking up to:


Edit:  I realize the "follow" button hasn't been working properly on blogger the past day or so.  You are still welcome to leave a comment to enter the giveaway and you can come back to check if the follow button is working later! Thanks!
Pin It!

Monday, May 23, 2011

Exhausted.

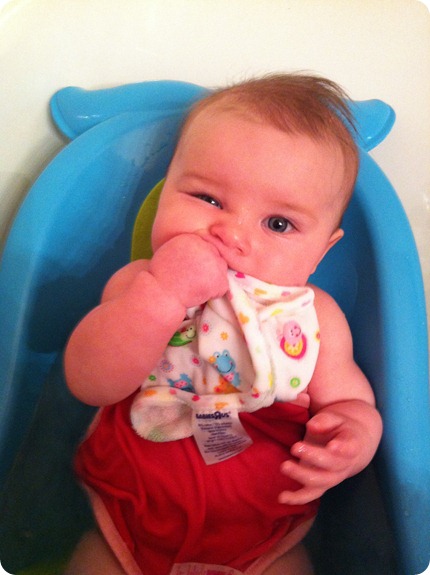
We had a rough weekend here.  Starting on Thursday, Hadley was getting extra fussy.  She’s been drooling a TON lately, and going through some sleep issues, so I figured it was teething.  Then, over the weekend, the fussing turned into screaming, and it got to the point where she would NOT nap unless I held/walked/bounced her around the house for close to an hour.  She hasn’t fallen asleep in my arms since she was around 2 1/2 months old, and suddenly this was the only way she would relax.  She had been running a low grade fever most of the weekend and the screaming was just getting worse.  By Sunday, we were so exhausted that we finally decided to take her into an urgent care to have her ears checked. 

I kept thinking “No way could this just be teething.  There has got to be something worse going on.” 

Nope.

The pediatrician we saw there was GREAT, and of course, the screaming baby that we had been dealing with ALL.WEEKEND.LONG. suddenly was happy and smiling at the sweet doctor.  Hadley still had a tiny bit of a fever, but thankfully not so high that they felt like they needed to do blood work.  She checked her ears, eyes, nose & mouth, and listened to her lungs/heart, and said she looked perfect and that it was probably just teething causing her so much pain. 

Poor baby – and poor mommy & daddy. Sad smile  We left with a prescription for some numbing liquid to use sparingly on her gums and a much happier baby than we had left the house with.  The nurses and the pediatrician there were all talking about how precious and cute Hadley was, and we joked with the doctor that we should just leave her there since she was clearly much happier with them!

I guess with the dramatic experiences we’ve had so far, I shouldn’t have expected anything less from our little drama queen when it came to teething. 

IMG_0688

Yep.  We are definitely teething.  Now I’m just praying these first teeth cut quickly!  I don’t know how many more months of this we can handle! 


And one more picture-story for your enjoyment.  Hadley had her weekly playdate with Brynn.  It goes great as long as the girls are in their strollers, but when we put them next to each other, they just yell at each other!  This time resulted in both of them in tears…

At first I thought – yay!  They are holding hands and look happy!

IMG_0671

Things quickly went downhill…

IMG_0674

This next one cracks me up – Morgan was trying to distract Hadley and it wasn’t working very well.  Brynn is looking at her like “geez, what is your problem??”

IMG_0675

And there’s the face I know and love…

IMG_0680

{Sidenote: Would you look at how big Hadley is??  Hadley, on the left, is 16 lbs at 4 1/2 months, and Brynn on the right is 16 lbs at almost 10 months!}


P.S.  I’ve got a fun giveaway in the works – I plan to get it up in the next couple of days so stay tuned! Smile


Pin It!

Thursday, May 19, 2011

White Wine Sangria

This doesn’t fall into the “supper” category, but I wanted to share it anyways since it’s a delicious and easy recipe for entertaining!  Make sure you check out the other recipes below, and all the others on Shanty 2 Chic’s site!
Shanty 2 Chic

6a00d8345165de69e200e551dcd1218834-800wi

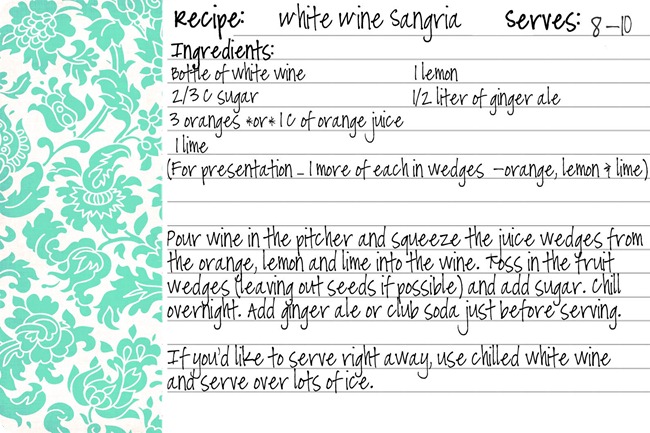
White Wine Sangria:
  • Bottle of your favorite white wine
  • 2/3 C sugar
  • 3 oranges OR 1 C of orange juice
  • 1 lemon
  • 1 lime
  • 1/2 liter of ginger ale
  • (For presentation – 1 more of each  - orange, lemon & lime)
Pour wine in the pitcher and squeeze the juice wedges from the orange, lemon and lime into the wine. You can toss in those wedges, or if you care about presentation, cut up fresh wedges from an additional lemon, lime and orange.  Add sugar. Chill overnight. Add ginger ale just before serving.
If you'd like to serve right away, use chilled white wine and serve over lots of ice.
Enjoy!
sangria recipe_card 
(P.S. - I made these recipe cards.  Feel free to download and save the recipe!  I'd love it if you'd credit me if you re-use them on your blog!) 
Pin It!

Neiman Marcus Brownies

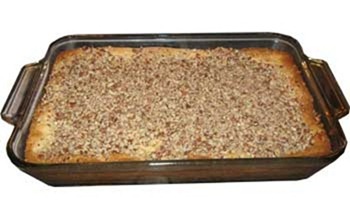
This is one of my favorite desserts to make, and is yet another one of my mother-in-law’s recipes.  I’m linking up with Shanty Suppers once again AND Show Us Your Life at Kelly's Korner!
Shanty 2 Chic
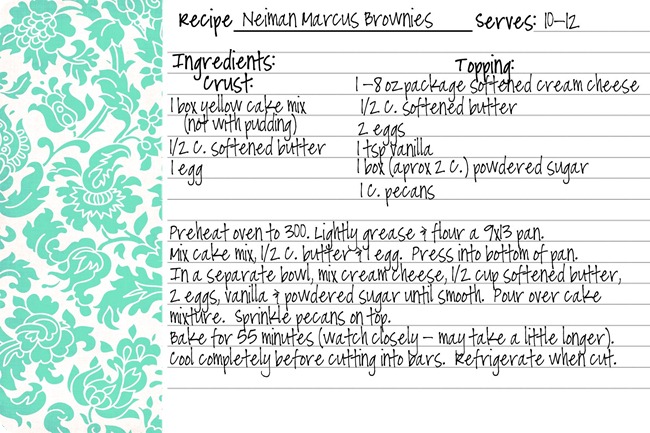
Neiman Marcus Brownies:
i-nut-bar_02
Ingredients:
Crust:
  • 1 box yellow cake mix (make sure you get one without pudding)
  • 1/2 C. softened butter
  • 1 egg
Topping:
  • 1 – 8oz package softened cream cheese
  • 1/2 C. softened butter
  • 2 eggs
  • 1 tsp vanilla
  • 1 box (approx. 2 cups) powdered sugar
  • 1 C. pecans
Directions:
Preheat oven to 300.  Lightly grease & flower a 9x13 pan.  Mix cake mix, 1/2 C. butter & 1 egg.  Press into bottom of pan.  In a separate bowl, mix cream cheese, 1/2 cup softened butter, 2 eggs, vanilla & powdered sugar until smooth.  Pour over cake mixture.  Sprinkle pecans on top.
Bake for 55 minutes (watch closely – it may take a little longer).  Edges should be just turning golden brown.  Cool completely before cutting into bars.  Refrigerate when cut – serve chilled.
neimanmarcusbars 
(P.S. - I made these recipe cards.  Feel free to download and save the recipe!  I'd love it if you'd credit me if you re-use them on your blog!)
Pin It!

Shanty Suppers: Maggy’s Lasagna

I love linky parties, and one where I can get a bunch of new recipes is my kind of party!  I’m going to share a couple recipes with y’all, but be sure to check out the rest at Shanty 2 Chic to get some new dinner ideas of your own! 
Shanty 2 Chic
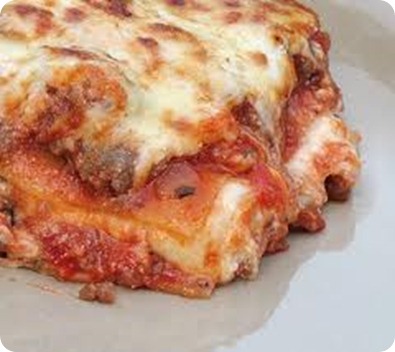
First up is my mother-in-law’s recipe and one of my husband’s favorite dishes – Lasagna.  I don’t make it that often because it takes awhile, but it is pretty simple and definitely a crowd pleaser.  This is also one that I make to freeze extra or bring to people because it freezes and re-heats really well. 
images
via
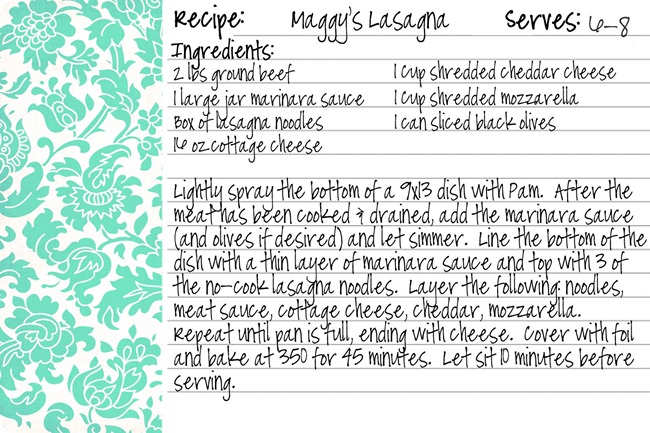
Maggy’s Lasagna:
Ingredients:
  • 2 lbs of ground meat cooked & drained (I cook it with garlic [diced cloves or just garlic salt], some worcestershire sauce and Mrs. Dash)
  • 1 large jar of marinara sauce (or if you’re really talented you could make your own favorite marinara sauce)
  • Lasagna noodles (I buy the no-cook kind to save time)
  • 16 oz container of cottage cheese
  • 8 oz shredded cheddar cheese
  • 8 oz shredded mozzarella cheese
  • 1 can of sliced black olives (optional – I usually do half & half b/c my husband likes olives but I’m not a fan)
Directions:
Lightly spray the bottom of a 9x13 dish with Pam.  After the meat has been cooked & drained, add the marinara sauce (and olives if desired) and let simmer for a little while.  {sidenote: I’ve played with the order of layers, and if you’re using the no-cook noodles, I think it turns out best if you use a thin layer of the sauce first} Then line the bottom of the dish with the noodles, spread a layer of the meat sauce, add a layer of the cottage cheese, then sprinkle some of the cheddar and mozzarella.  Repeat this 2 more times (or however long until your pan is full), ending with the cheese on top.  Cover with foil and bake for 45 minutes at 350.  Let sit about 10 minutes before serving. 
lasgna recipe_card
Stay tuned for a delicious dessert bar and sangria recipe to go along with this!
(P.S. - I made these recipe cards.  Feel free to download and save the recipe!  I'd love it if you'd credit me if you re-use them on your blog!) 
Pin It!

Monday, May 16, 2011

DIY Tutorial: Menu/To-do memo board

I mentioned in my last post that I had a project to share, and I’m back to show you how to make your own!  Because I had some crafting supplies already on hand from previous projects, this whole thing only cost me $2!  Gotta love cheap projects!
Here’s what I started with…
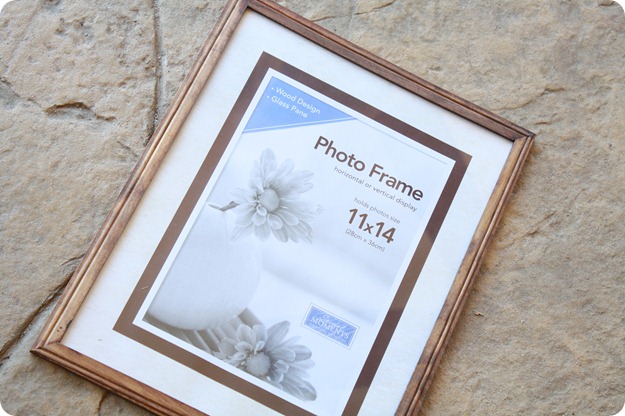
  • An 11x14 frame from the dollar store ($1)
IMG_1830
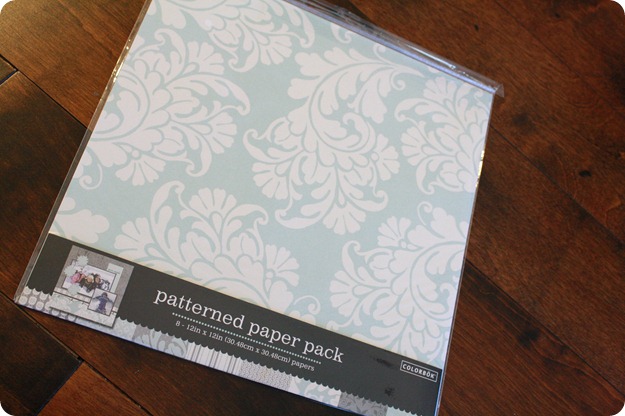
IMG_1836
  • A pack of scrapbook paper from Target (.99c)
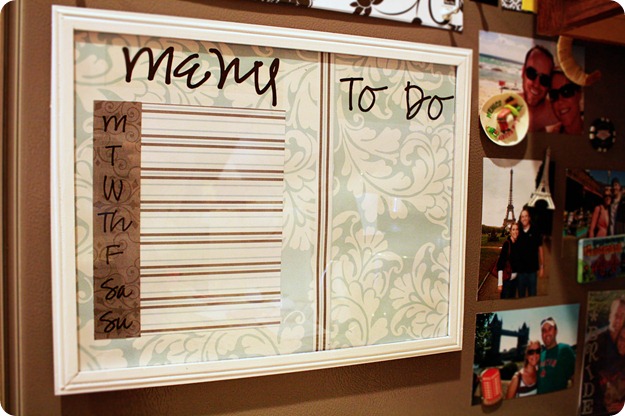
And here’s what I turned it into…
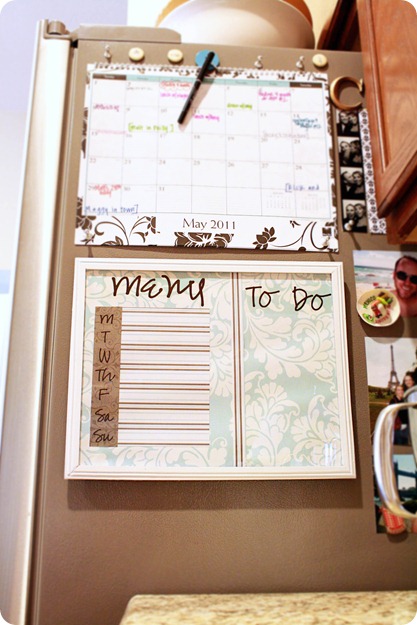
IMG_1855 copy
I can’t take full credit for this idea – I actually came across this - Menu/Calendar board from RedHeads Craft More Fun and decided to make my own version!  I really like the calendar we have already, so I didn’t need to use such a big frame to make mine a calendar, too. 
Here’s all you need for this project:
  • A frame (any size will work – figure out where you want to use this, and decide on what size frame from there)
  • Scrapbook paper and/or fabric for your background
  • Spraypaint (only if your frame isn’t already the color you want it to be – I had spraypaint on hand, and my frame was only $1, so this wasn’t an extra cost for me)
  • Sticker paper, or a cricut to make your letters (I had this vellum print-your-own sticker paper on hand from another project, so that’s what I used – it was similar to this - http://www.amazon.com/Avery-Sticker-Paper-Inches-53203/dp/B000XAP47G)
  1. Spray-paint your frame first (if you already like the color – great! You get to move on to the next step)
  2. I used the backing from my frame to create my layout next.  Play around with different combinations of paper or fabric, different sizes, etc to find the layout that will work best for your needs.  My main purpose for this was to have a spot to write out our weekly meal plan/menu, so I made that area larger, and the other spot is smaller to just jot down notes when I think of something I need to do. 
  3. For the words: I just eye-balled the size font I needed and printed out a couple sample sizes on plain paper before I used my vellum sticker paper.  Once I decided on the font I liked (I actually used a combination of 2 different fonts – Pea Jenny Script and Pea Missy Cursive from Kevin & Amanda) {sidenote: if you haven’t checked out her blog yet, you are missing out – in addition to the fabulous fonts she creates, she’s got a ton of other great stuff on there!}
  4. Cut everything down to size, assemble (I just used double-sided tape) and put your frame back together! 
  5. Remember to buy a dry-erase marker (I realized after I got mine up that I don’t have one, and with a 4 month old, haven’t had time to run to the store to get one just yet – but I can’t wait to start using mine just as soon as I do!)
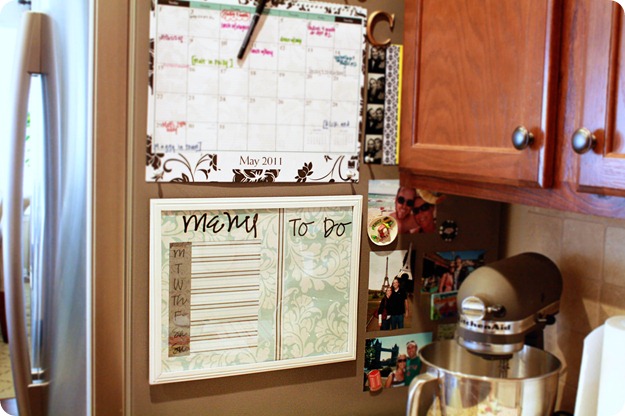
VOILA!
IMG_1847 copyIMG_1849 copy
Happy crafting! Smile
I’m linking to…
image
image


Making
Pin It!
Related Posts Plugin for WordPress, Blogger...